
Digitizing Machines and Systems
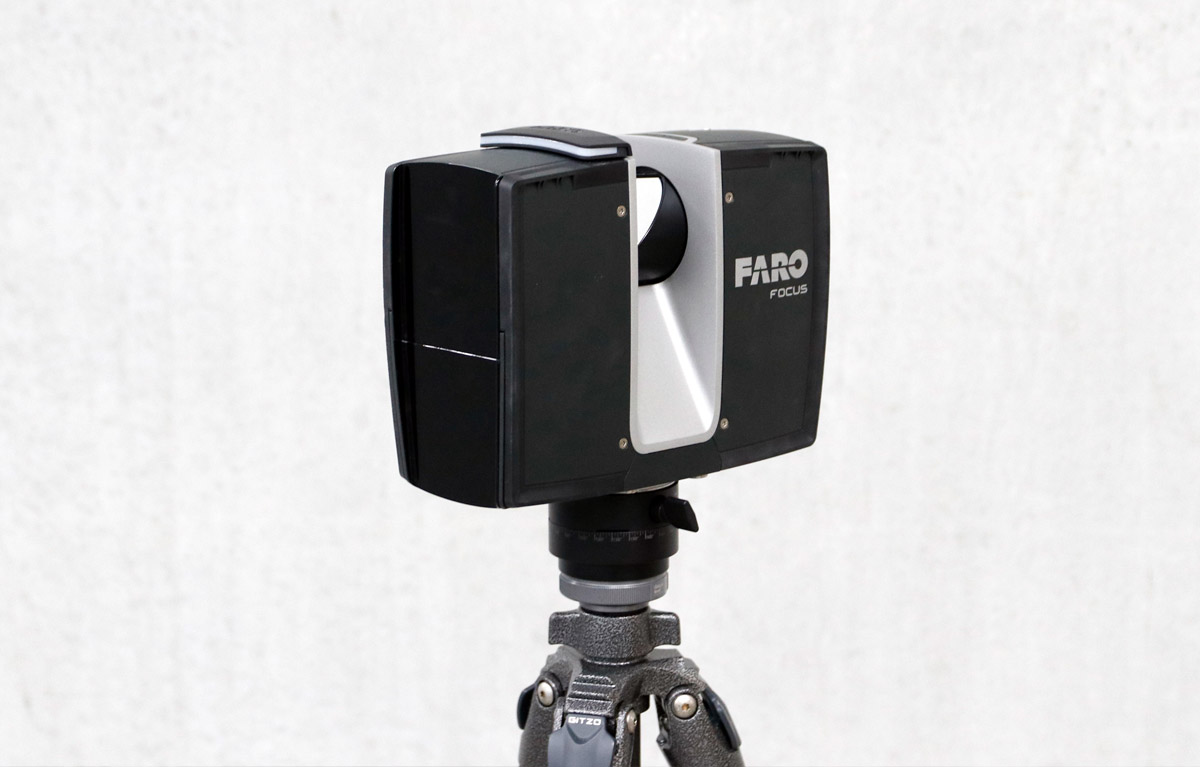
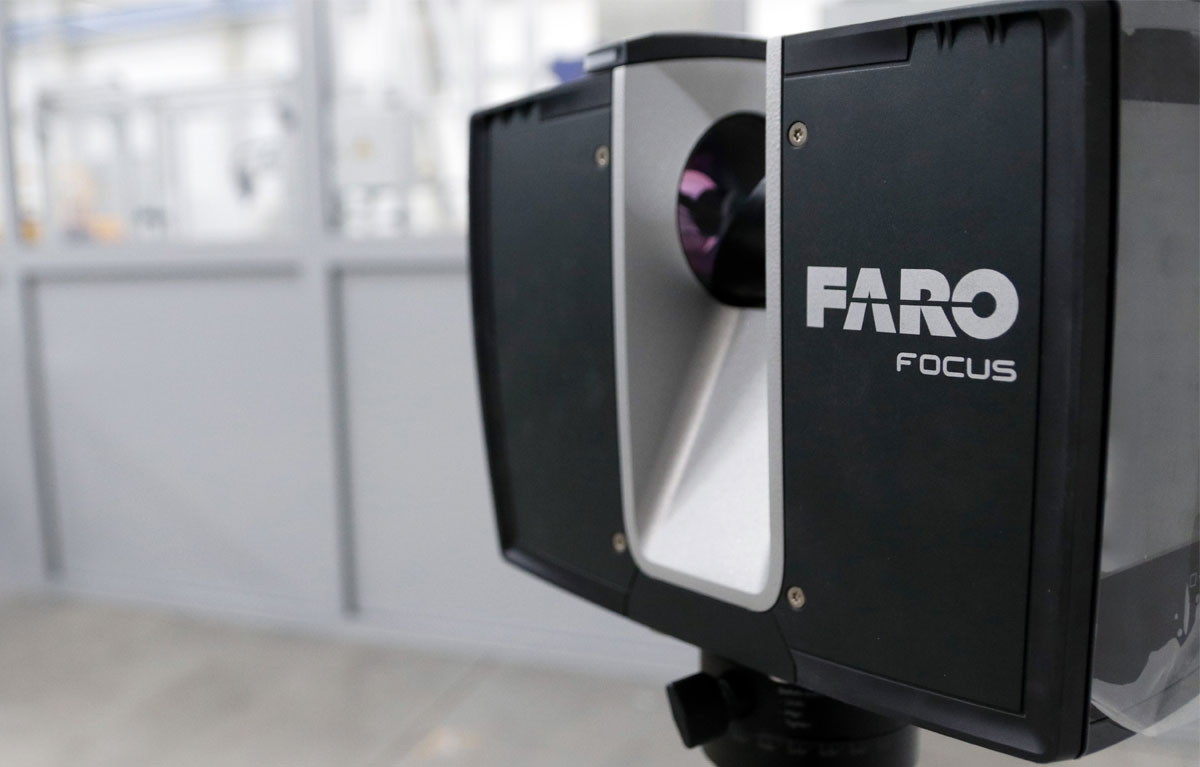
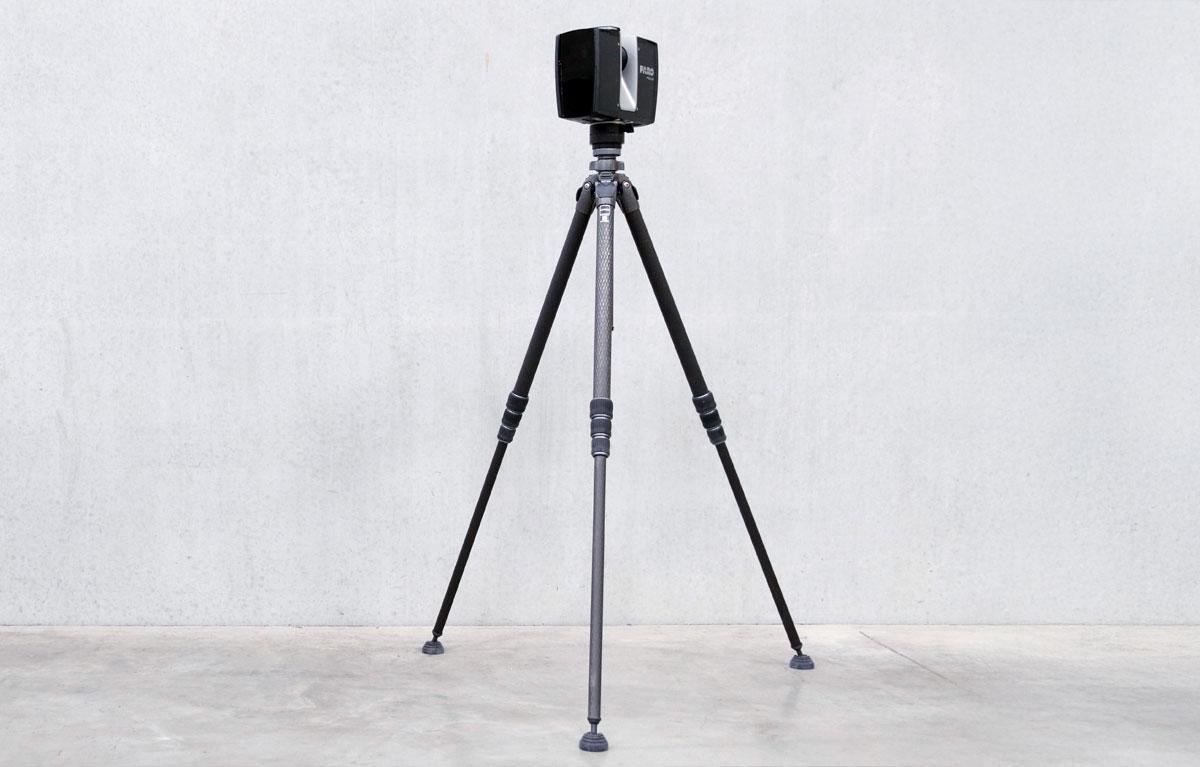
We offer professional 3D scanning services to accurately digitize existing machines and systems. Using the FARO Focus laser scanner, a detailed point cloud is generated.
This point cloud forms the basis for numerous applications:
Our experienced engineers professionally process the captured data and develop customized solutions tailored to your specific requirements. From digitization to integration into your processes – Mössner combines cutting-edge technology and expertise to implement your projects efficiently and precisely.
Calibration by laser 3D scans
For robot-guided processing operations with a high number of waypoints, a reliable and exact concept is essential when calibrating tool and base, in order to avoid time-consuming re-teaching of the robot movements after a crash, at re-start or when replacing a robot. The downtime of the system is reduced.
For new plants, a laser calibration system from Wiest AG is used to create a calibration reference of a workpiece. For this purpose, reference marks are attached to a master part and then measured with a laser 3D scanner. As a result, the positions of the reference marks are created in relation to the operating point of the robot (TCP). The use of the resulting coordinate system enables time savings of up to 80% compared to conventional teaching of robot path movements. Due to the exact measuring process, the use of the offline-programmed trajectories is nearly directly possible. Without loss of time owed to reworking.
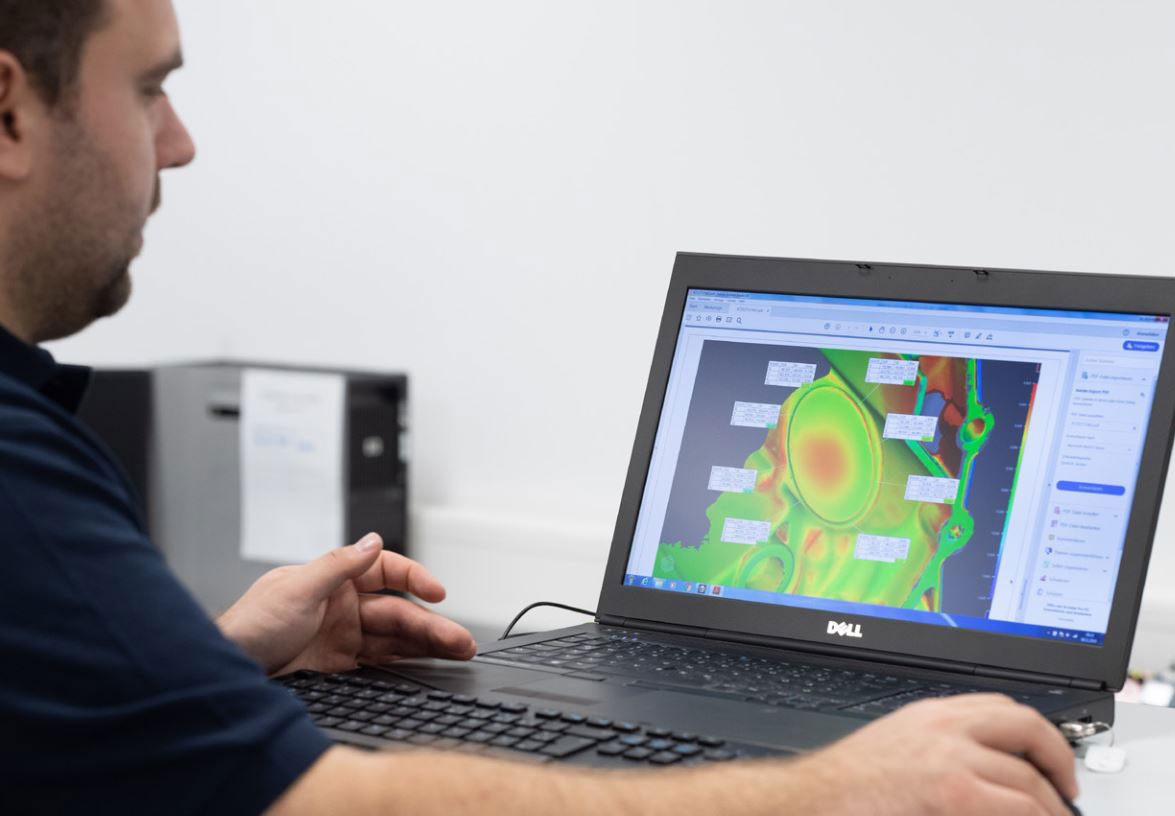
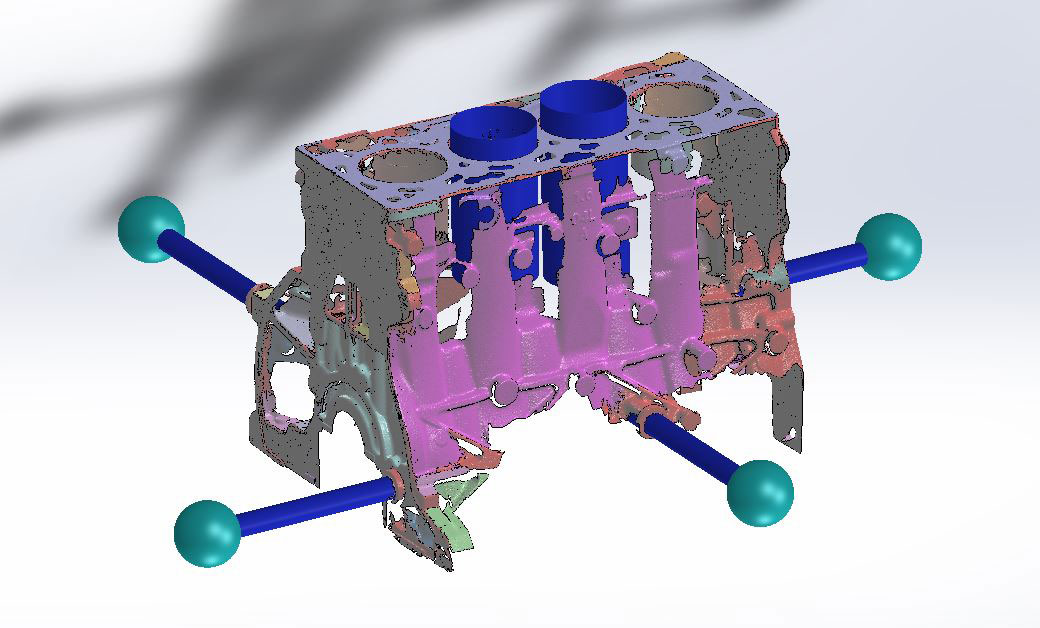
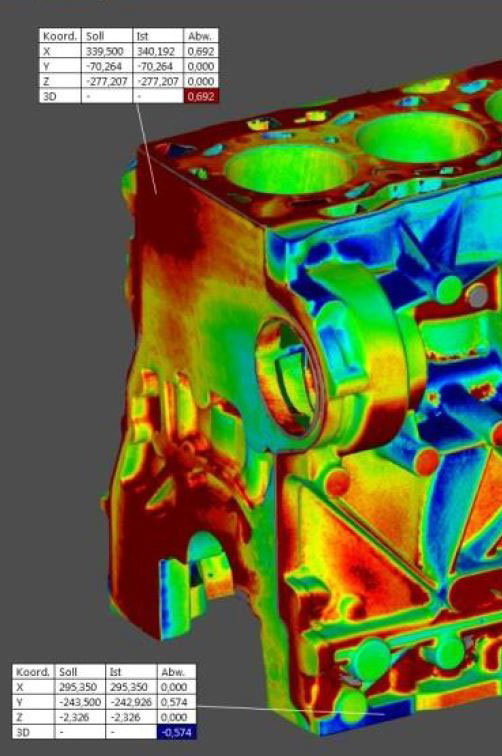
3D digitisation
In contrast to CAD models, actually manufactured workpieces are subject to tolerances. For example, robot grippers often must be manually reworked to compensate for the differences between the nominal and actual dimensions of the workpiece. It is difficult or even impossible for the resulting free spaces on the gripper to be documented and updated in the CAD model.
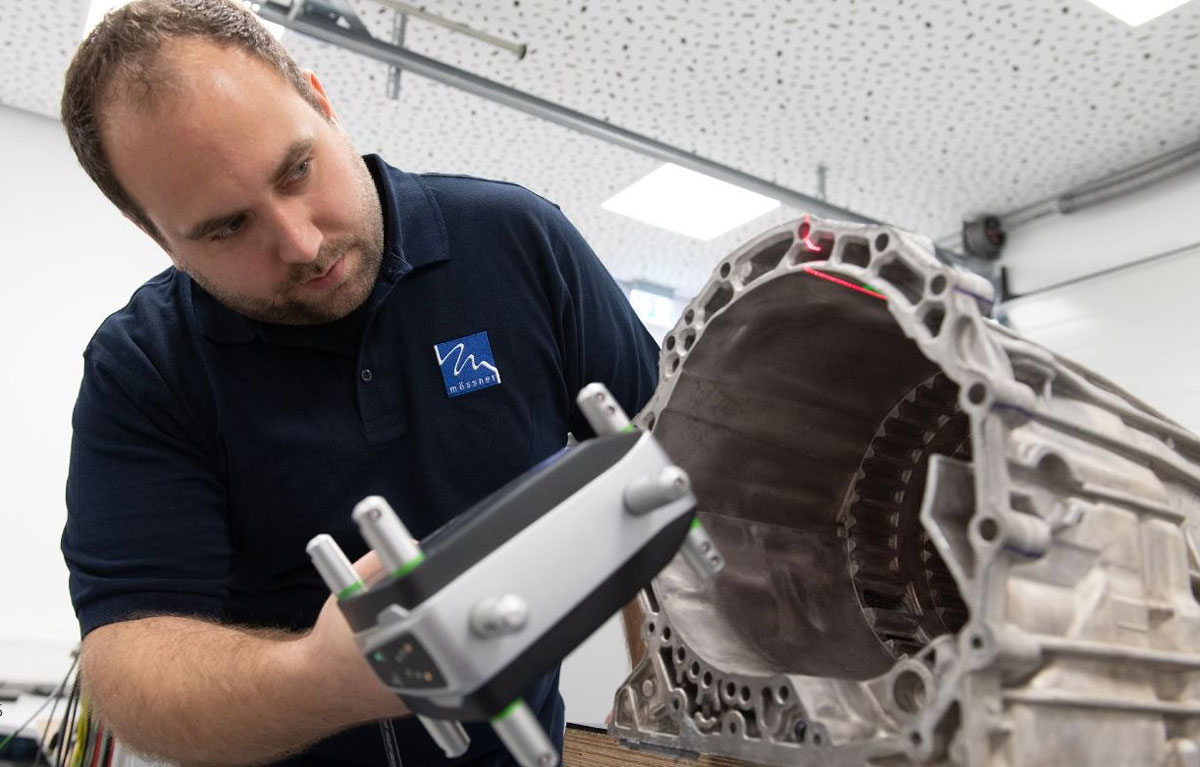
The reworked gripper is converted into a 3D point cloud by using the hand-held 3D scanner T-Scan from Zeiss along with the optical tracking system T-Track CS+. By using reverse engineering tools, this becomes a complete CAD model and thus enables perfect adaptation of the robot gripper.
This is just one of many examples of how and where 3D scans enable us to work more successfully. As there is no need for a physical connection to a measuring table, even heavy, large and already installed components can be scanned and processed.
Read more about the successful use of our 3D scanning solution:
